
 Yahoo Finance
 Your step-by-step guide to building an incredible backyard rink
It wouldn’t be winter in Canada without snow, ice and chilly temperatures — and that’s why Canadian Tire and Yahoo are here to help you make the most of the season. With everything from fun outdoor activities to how to turn your backyard into a skating rink, we’ve got the rundown on how to make this winter the best one ever.

Winter is here, and what better way to spend your time than by getting outdoors with your family?
While building a snow fort is certainly fun, we suggest turning the Canadian-inspired backyard activities up a notch this year by building your own backyard skating rink to provide endless hours of enjoyment with shinny hockey or skating practice.
While it may seem difficult, turning your backyard into a rink is actually a lot easier than it seems — if you have the right tools, of course.
Below, we’ve detailed how to build (and maintain) your own amazing backyard rink in 8 steps. If you’re looking for additional information (or a handy step-by-step video tutorial) check out Canadian Tire’s rink building resources here.
PREPARATION
Step 1: Make a plan and find the right spot
The first step is to find a spacious, levelled area to build your rink — after all, if you’re putting in the work, you want it to last as long as possible. You’ll also want to think about what size of rink to build. A helpful rule of thumb from Canadian Tire is to allow about 100 square feet (3.5 sq. m) per skater — which will allow everyone on the rink to have enough space without bumping into each other.
You’ll also want to keep in mind the material you’re going to use for the framework. The most common materials used are plywood and or 2” x 6” lumber. Both materials are readily available in 8’ lengths so if your width and length are divisible by 4’ or 8’, you’ll have an easy build ahead.
When it comes to choosing a spot, there are a few things to consider. Try to find a spot in the shade for your rink, which will prevent it from melting on sunny days. Another courteous tip is to think ahead: Consider where your water source is, and how the rink will drain in the spring — a good neighbour doesn’t let water flood their neighbour’s yard!
You’ll also want to shovel any snow away before getting to work, as snow buildup underneath will lead to uneven ice.
Step 2: Timing is everything
When it comes to setting up the perfect rink, timing is important.
The best time to set up your backyard rink is just before the temperature drops below freezing. Canadian Tire experts recommend this for two reasons: First of all, if you prepare everything beforehand, you’ll be ready to fill/flood when the freezing weather arrives. And secondly, it’s a lot easier and more comfortable to be working outside and installing stakes/ brackets into the ground before the ground freezes.
THE BUILD
Step 3: Measure and square your rink
Now that you’ve got your rink planned, you can get to work building.
First off, you’ll need to measure and stake the four corners of your rink. To determine whether your yard is uneven, run a string line from the high side of your yard to the low. Using a line level, you’ll quickly be able to determine if there is a drop off in your yard. Canadian Tire experts say that ideally, you want 4” (10cm) of ice on the high side. That means, if your yard drops off by 6” (15cm), your boards on the low side will need to be 6” higher to accommodate the water level.
Once you have your four stakes set, you can move on to squaring up the rink. The easiest way to do that is to run a tape measure on the diagonal from corner to corner, creating an X. At the intersection the numbers should be the same. If they aren’t, adjust one corner as required.

Step 4: Frame it up
To make sure your rink is quality, you’ll have to frame the walls — almost like a sandbox.
To do that, begin by creating a base layer around the perimeter – this is the part that gets secured into the ground.
Start by pre-drilling two holes on each base layer — we love using the fuss-free Mastercraft 20V Max Cordless Drill Kit, 3/8-in for the task — then, fasten a frame at a 90-degree angle on top of the base layer to act as the vertical support for the rink – this is what keeps the water in the rink. Repeat this process to complete the frame around the area you staked out in step 3, making sure you have enough length to create vertical support around the perimeter of the rink.
After that, hammer two spikes into each of the base layer boards to secure them into the ground.
Step 5: Lay the tarp
After building your structure, you’re going to need an ice rink tarp, some cold water and most importantly, some cold weather. Lay a rink tarp down in your structure before you fill it up with water.
Canadian Tire recommends using a white plastic or poly tarp to prevent heat absorption from the sun and to save your grass in the spring. You’ll also want to make sure the outside of your boards are a light colour (or coloured with a white tarp) to prevent heat absorption.
Lay the tarp down and secure it around the framework with a staple gun, leaving enough slack on the tarp to lessen the tension when the ice freezes.
IV. If you tear the tarp, simply patch it up with duct tape.
Step 6: Install the boards
Once the tarp has been laid down, you can cut down plywood to create boards around the entire rink. Then, secure the boards to the framework from step 4 with screws.
For added support, consider using leftover wood from the framework to create braces for the boards. And finally, add pipe foam to the top edge of the rink boards to soften the edges and complete the rink build.
MAKING ICE
Step 7: Just add water
Now that you’ve got your rink set up, it’s time to fill it!
Let the ground cool down before filling. Experts say to wait until nighttime temperatures drop to 18 to 23°F (-5 to -8°C) and daytime temperatures stay below 36°F (2°C) before filling — cold nights are key, since you’ll build more ice during those lower nighttime temperatures than the higher daytime temperatures which can melt it. Your rink will basically gain thickness each night.
When it comes to filling your rink, you’re going to want a long hose to ensure you can reach different parts of the rink without any issues. The Yardworks Dry Seal Hybrid Flex Hose, 100-ft, is a great one for the job thanks to its flexible construction and steady water flow.
Fill the rink with ½ - 2 cm layers of water at a time and let them freeze in between. Thin layers avoid air pockets and give you a smoother ice surface. For best results, use a fine spray nozzle on your hose. Pro tip? You get the smoothest ice from a light flood of warm water at night when it is the coldest.
Step 8: Test the ice
Before you head out for your first skate of the year, make sure to test the ice by gently pushing down on it. If you can’t push it down very easily, the next step is to try to step on it. If you hear cracking, immediately get off the ice and give it some more time to set.
Canadian Tire experts say that a good finished ice thickness is at least 4” (10cm) — this thickness gives you enough ice to work with and can usually stand up to any mid-winter thawing. If adults will be using the rink too, they recommend upping that thickness to 6”.
We recommend 6”(15cm) of ice if adults will be using the rink.
Step 9: Light it up and accessorize
If you’re planning to use your new rink at night, it’s crucial to get lighting and find lighting made from durable material to stand up to the cold winter. The NOMA Low Voltage Large LED Stake Lights can be used around the rink — they have waterproof plastic housing making it perfect for the snow. Add another layer of backyard glam by adding rope lights around the area.
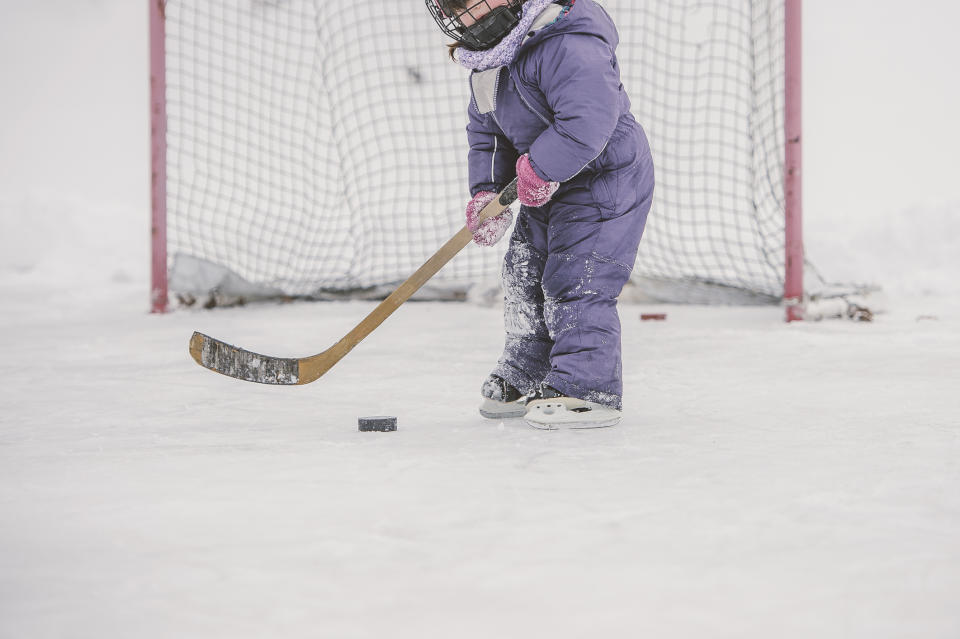
Accessories are a must after your ice rink is complete. What’s an ice rink without a hockey net? You’ll also need some hockey sticks with durable wood, and of course, a couple of pairs of skates. Whether you need hockey or figure skates, Canadian Tire has you covered. And don’t forget to put safety first by making sure everyone has a helmet at all times.
Step 10: Maintenance is key
After your ice rink is all set and you have all the equipment you need, don’t forget to continue working on the rink to keep it in peak condition.
Try not to use salt around your rink, as salt can damage ice. Boots can often track salt from the roads onto your rink, so we recommend not walking on the ice with boots, or making sure boots are cleaned off prior to stepping on the sheet.
When adding more water to existing ice, you must make sure the edges of the rink are not attached to the tarp on the sides. If the ice is attached, adding new water will raise the ice and the tarp, possibly tearing it.
To prevent this, you can either run your hose along the edges to melt the ice, or break the ice 12-18” from the edge of the rink and remove the broken ice. Another tactic is to aim the hose down one of the sides of the rink to create a whirlpool effect around the edges, which will help the edges stay free while refilling. Moving the hose to different areas of the rink will also help keep things smooth and level.
If you notice your rink is developing holes or cracks, there are two things you can do to help repair and prevent further cracks. First, you can scrape some ice shavings or fresh snow, pack them in the hole, wet it and then smooth it over with a puck and let it freeze.
Another option is to apply many “thin” layers of water/ice on the rink, letting each layer freeze before adding another layer. This will give you a harder layered ice surface on the top and be less prone to cutting, chipping, and cracking.
