
 Yahoo Finance
Paint DIY: How to transform a dull wardrobe with paint
Transforming your space with paint is one of the easiest DIY projects you can tackle, even more so if you update small pockets of the home like plain cupboards, shelving, or alcoves. Alongside Jen Brake, the creative mind behind @halfpaintedhouse, we will be covering a series of small but impactful makeovers you can make around your own home.
We asked Jen to use the House Beautiful paint at Homebase in a series of small DIY transformations around her home. (Have a look at how Jen updated an unloved cupboard with some clever painted decoration, and scalloped shelving.)
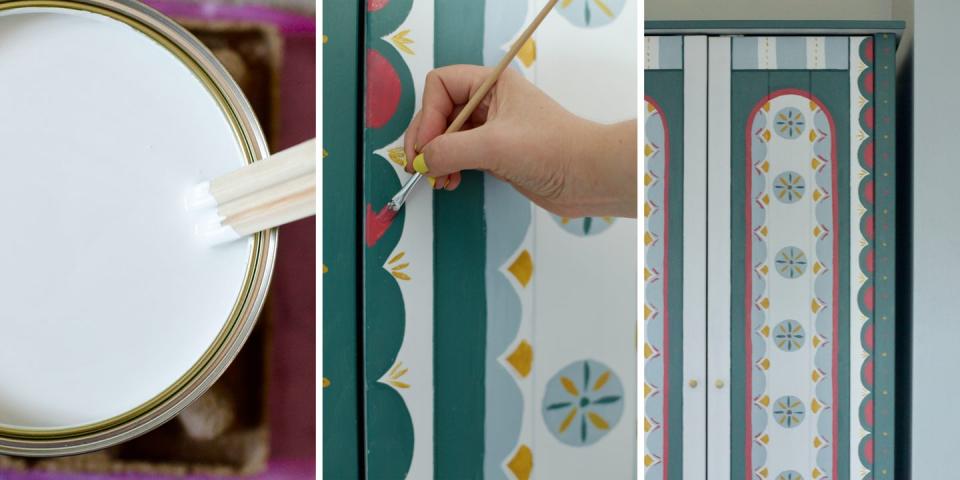
Here, Jen updates a plain freestanding wardrobe with a fabulous hand-painted motif.
For this transformation you will need:
1 x wooden wardrobe
6 x paint colours
Paintbrush or roller
Small paintbrush for details
Screwdriver
Sandpaper
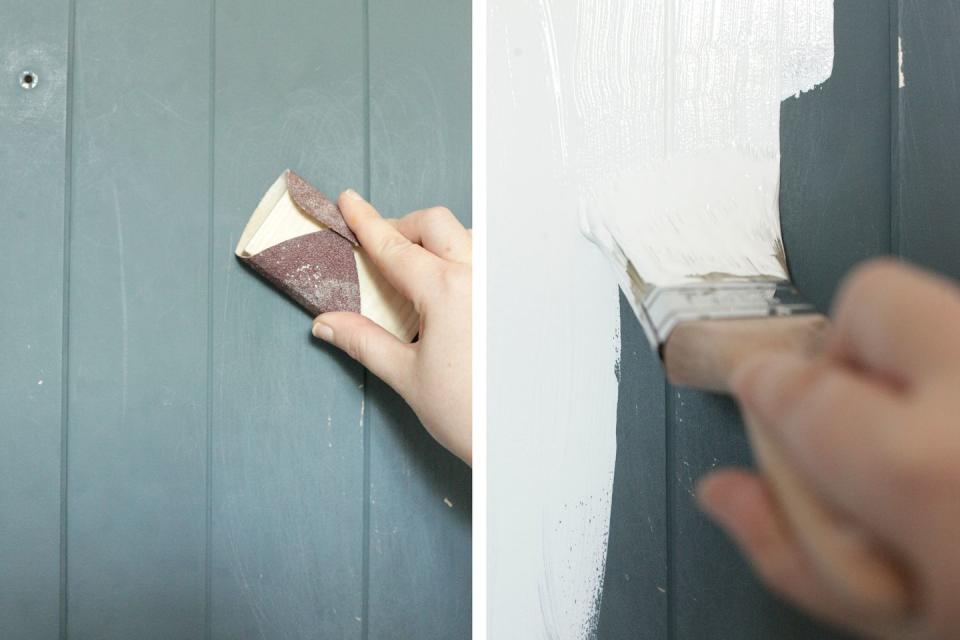
You can remove the doors and handles of your wardrobe to paint each panel individually, if space won't allow to paint in situ. Before painting wood, always make sure to sand the surface to remove any roughness and create a smooth base for painting. Always choose a multi-surface paint too, to ensure it can adhere to your wood surface.
Start with a plain off-white – Jen used Back to Nature BN.36 – to create a uniform base, and layer your darker colour on top, here Jen used Back to Nature BN.42. Remember to let each layer dry thoroughly before painting over it, and any paintbrush streaks or bubbling in your paint can easily be sanded down.
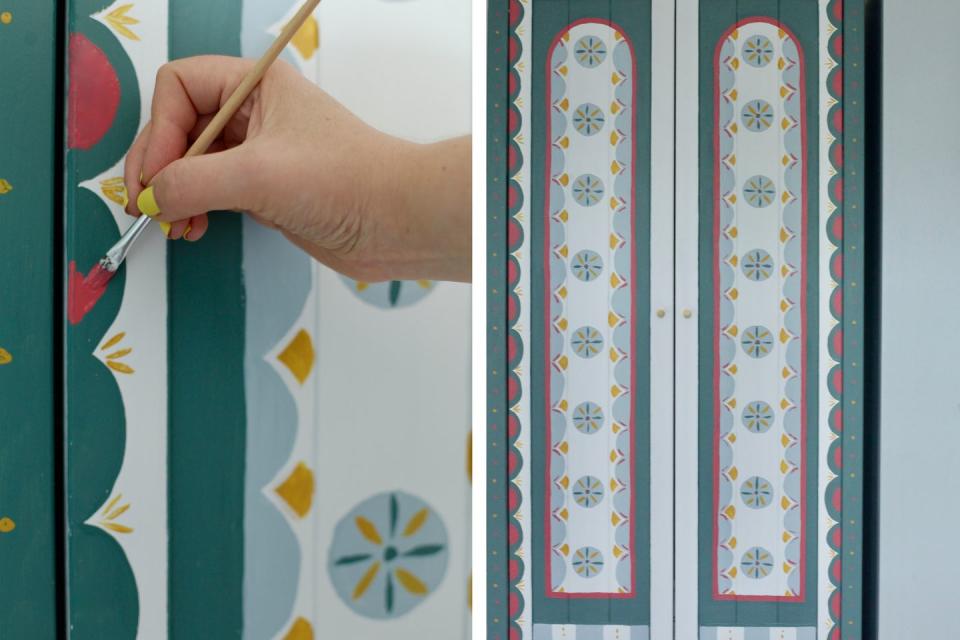
For your decorative motif, use a thin paintbrush – an emulsion is fine for thin brushes, just make sure it is stirred thoroughly beforehand. Jen used Think Pink TP.26 and Earth Notes EN.06 for her decorative accents.
Jen used: Back to Nature BN.36, Back to Nature BN.42, Back to Nature BN.40, Boutique Blues BB.33, Think Pink TP.26, Earth Notes EN.06. All available exclusively at Homebase.
Follow House Beautiful on Instagram.
You Might Also Like
